
Today is a different sort of Minifigure Monday in that I am not actually looking at a Minifigure per se. I am sharing a customized LEGO® dog figurine. What was once a husky is now a Norwegian Elkhound. Why you ask? I have two reasons. Firstly, I wanted my sig fig to have a dog. I have a Norwegian Elkhound in real life, so it makes sense that my sig fig would have one too. Secondly, it builds on my Viking theme.

While my LEGO® elkhound will join my sig fig in certain photo ops, he will permanently reside in the MOC Viking settlement I am creating. Norwegian Elkhounds are actually a very old breed of dog descended from an extinct species of Eurasian wolf. There is evidence to suggest the breed has been around since 5000 BC. Subsequently, they became the favoured breed of Vikings. Several excavations found Elkhounds buried with their Viking masters.

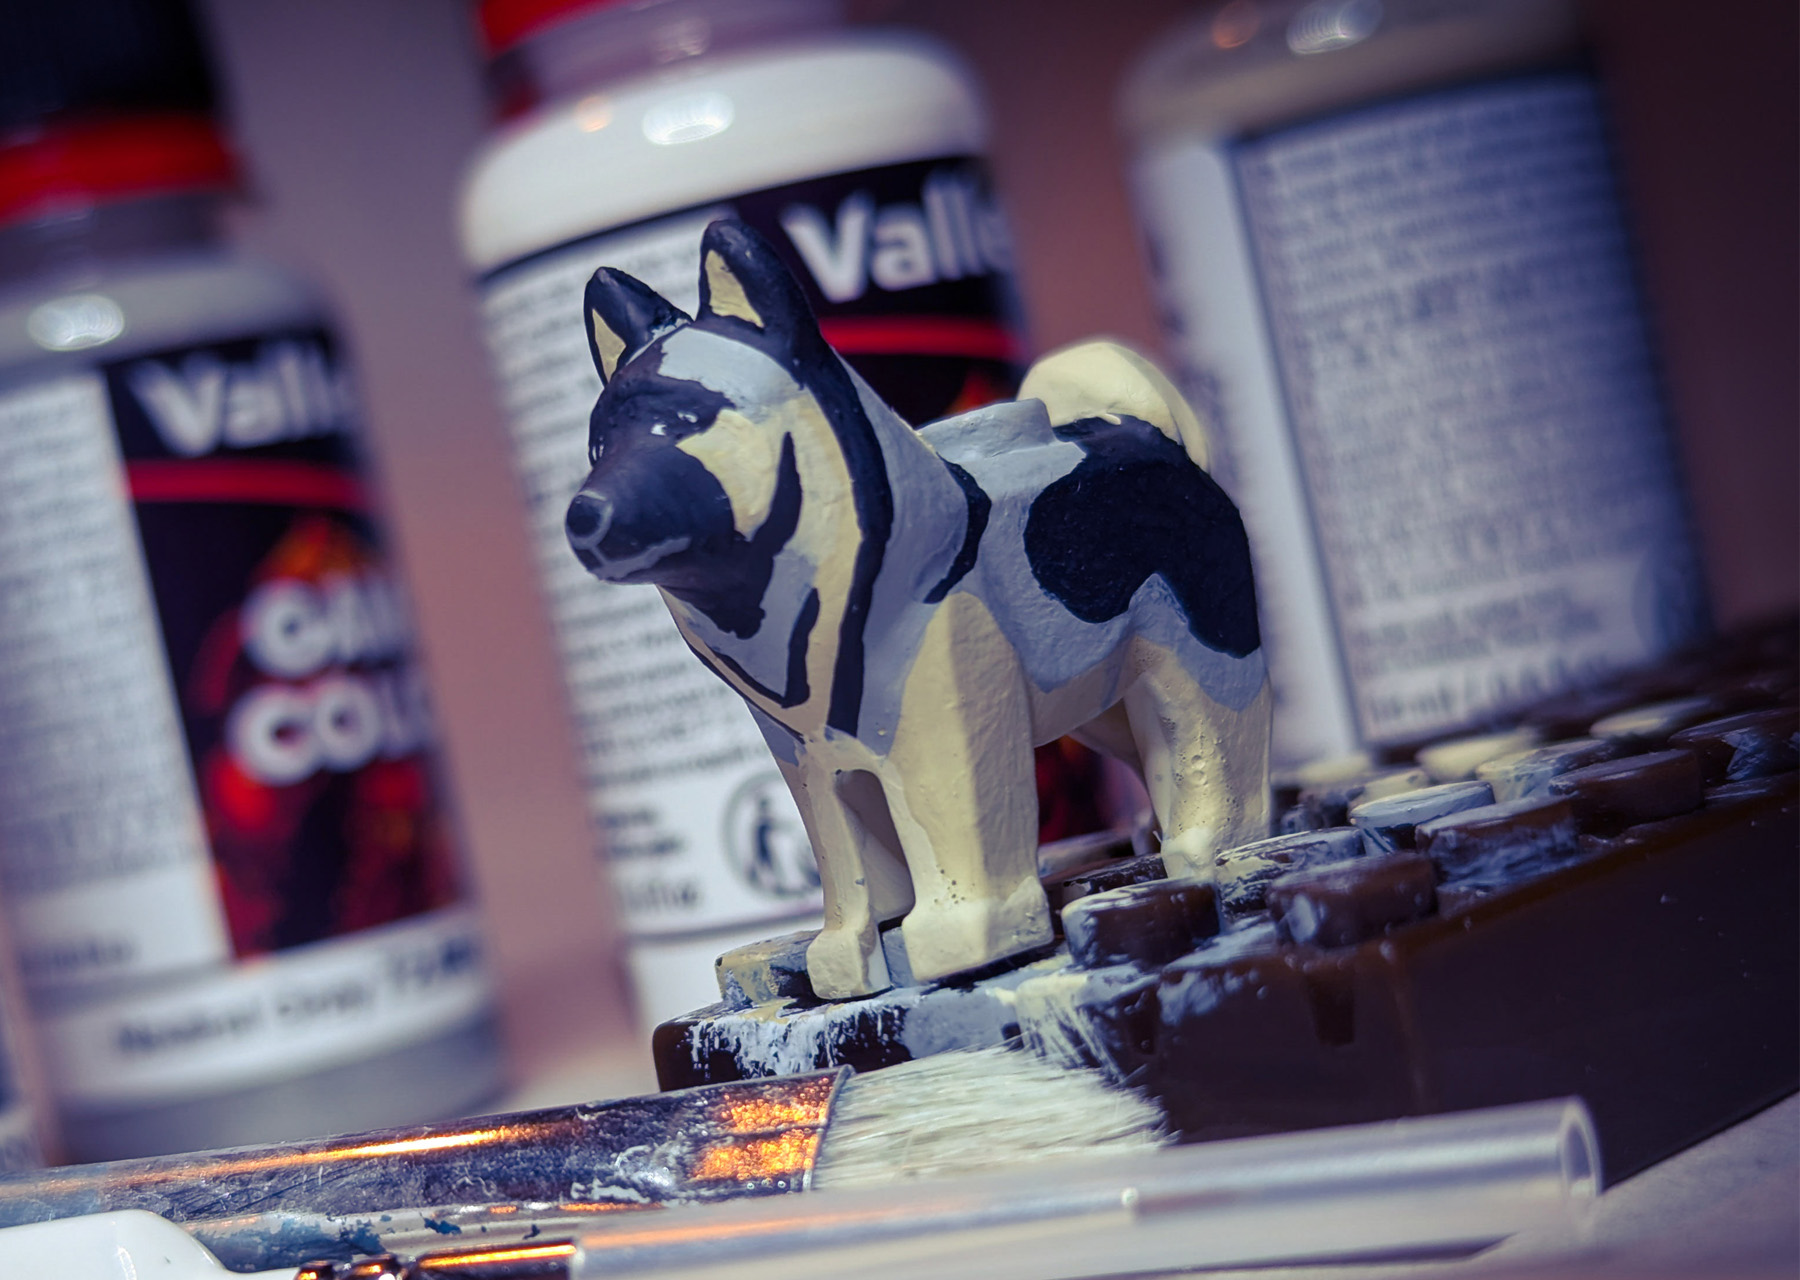
I have very limited experience with painting toys. Previously, I painted a fake LEGO® Spinosaurus. For this project, I decided to try a different set of paints. I cannot say for sure that they are any different from other acrylic paints. But, I bought some Vallejo model paints meant for gaming miniatures. I figured those figurines are close-ish to LEGO®… closer than painting on canvas anyway. Here’s how I went about it.

STEP 01: Primer

STEP 02: Bone White

STEP 03: More primer…

STEP 04: Bring on the charcoal

STEP 05: It’s all in the details

I painted two of these Norwegian Elkhounds. The first was a trial run that looked a little rough around the edges. It has a lot of paint on it since I kept re-coating it as I worked out the details. I will probably paint a few more… the order for more huskies has already gone out on Bricklink. Incidentally, you can find the LEGO® husky cheaper on Bricklink than through the official LEGO® Pick-a-Brick in case you are interested in trying. What do you think of my custom LEGO® Norwegian Elkhound? Let me know in the comments or reach out on social media.
Until next time,
-Tom

Want to support True North Bricks?
If you like the content at True North Bricks, please follow on Instagram, Facebook, LinkedIn, YouTube, or TikTok for regular content. Additionally, you can support True North Bricks by making your LEGO® (and other) purchases using the links in the margin to your right. As an affiliate of those retailers, we earn from qualifying purchases. These earnings come at no extra cost to you but help to keep the content at True North Bricks free.