
Back in February, I wrote a little guide about turning LEGO® key chains into Minifigures. To summarize, I took a pair of pliers and removed the actual key chain first. A pin running through the Minifigure’s body attaches the chain to the character. Using the same pliers and a little muscle, you can yank that pin right out. In February, I successfully carried out this procedure on two Minifigures. First, I tried on an old, worn out Superman who was on his way to Minifigure heaven anyway. Second, I tried on a brand new Batgirl key chain. In the end, both attempts were successful.
Click here for my first article on turning key chains into Minifigures.

With the advent of my YouTube channel, I decided that the tutorial would also make a good video. Consequently, I acquired a new key chain, broke out my pliers, and started filming. After failing two consecutive attempts, it is said that the third time is the charm. Well, it seems as though the opposite can also be true. After two initial successes, my third attempt was a fail. Not only that, a video record now exists of the failure. You can go watch it on YouTube.
Click here to go watch my failed attempt on YouTube.

Why publish a failed attempt? Why not just get a new keychain and film it again? As Thomas Edison once said, “I have not failed. I’ve just found 10,000 ways that won’t work.” I am a firm believer that every failure teaches you something valuable. In this case, I learned some valuable facts. This new information requires me to amend some of the information from my original article.

01. “…the legs are glued to the torso…”
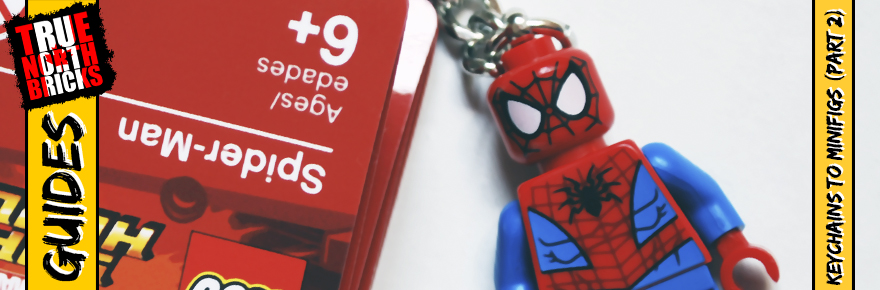
Not true. In my original article, Batgirl’s legs were pretty firmly glued to her body. This time around, I tried with a Spider-Man key chain. His legs came right off in the process. Afterwards, I gave Batgirl another go, and this time her legs came off too.

02. “The keychains are, after all, just Minifigures attached to a chain and ring.”
Also not true. When Spider-Man’s legs came off, they revealed that the key chains are not standard Minifigures at all. Both the leg and torso pieces are different. In a standard Minifigure, the neck and torso are one piece. Two pegs on the leg piece attach it to the torso. In the key chain, the torso has no neck, just a hole. The neck attaches to the legs via an internal support structure that hides in the torso.

03. “…you are getting real LEGO® parts…”
This is true, but not at the same time. The LEGO® Group has produced the parts, but the legs and torso are not interchangeable with actual Minifigures. This means that key chains are actually Minifigure wannabes. What a scandal! Well, okay, it is not really a scandal at all. It actually makes sense from a structural standpoint.

04. The pin does not always come out.
As previously mentioned, I botched this key chain transformation. Spider-Man’s pin snapped in two while I was trying to pull it out. In view of that, I removed his head and tired to extract the broken pin from the neck. However, it broke more. I still have my Spider-Man “Minifigure”, but if you take off his head, you can see the pin still in the neck.

Concluding thoughts…
In the end, converting key chains is still a viable option if you want a specific character without buying a set. The pin might break on you, but the head hides the remaining metal. As stated in the first article on this topic, all of your “Minifigure” pieces will have holes in them. I hope that my bumble has provided you with some useful information. Feel free to leave a comment on the topic below.
Until next time,
-Tom
3 responses to “Turning Key Chains into Minifigures (Part 2)”
Wow, that is not how I have thought these things were put together. That column built into the legs is bizarre.
I was fairly surprised myself! I guess it provides a better anchor for the pin, and therefore more stability for the actual key chain.
Yeah, that makes sense. Honestly, it shouldn’t be such a surprise that they’re made differently. But I guess we’re so familiar with minifigs it’s hard to imagine these would be different.